By Belinda Sieben
Australians love coffee. Just scroll through Instagram on any given day to see a dozen or more posts of lattes, cappuccinos, and piccolos. We rank 42nd in the world for coffee consumption (Finland is number one) and that demand is not slowing anytime soon.
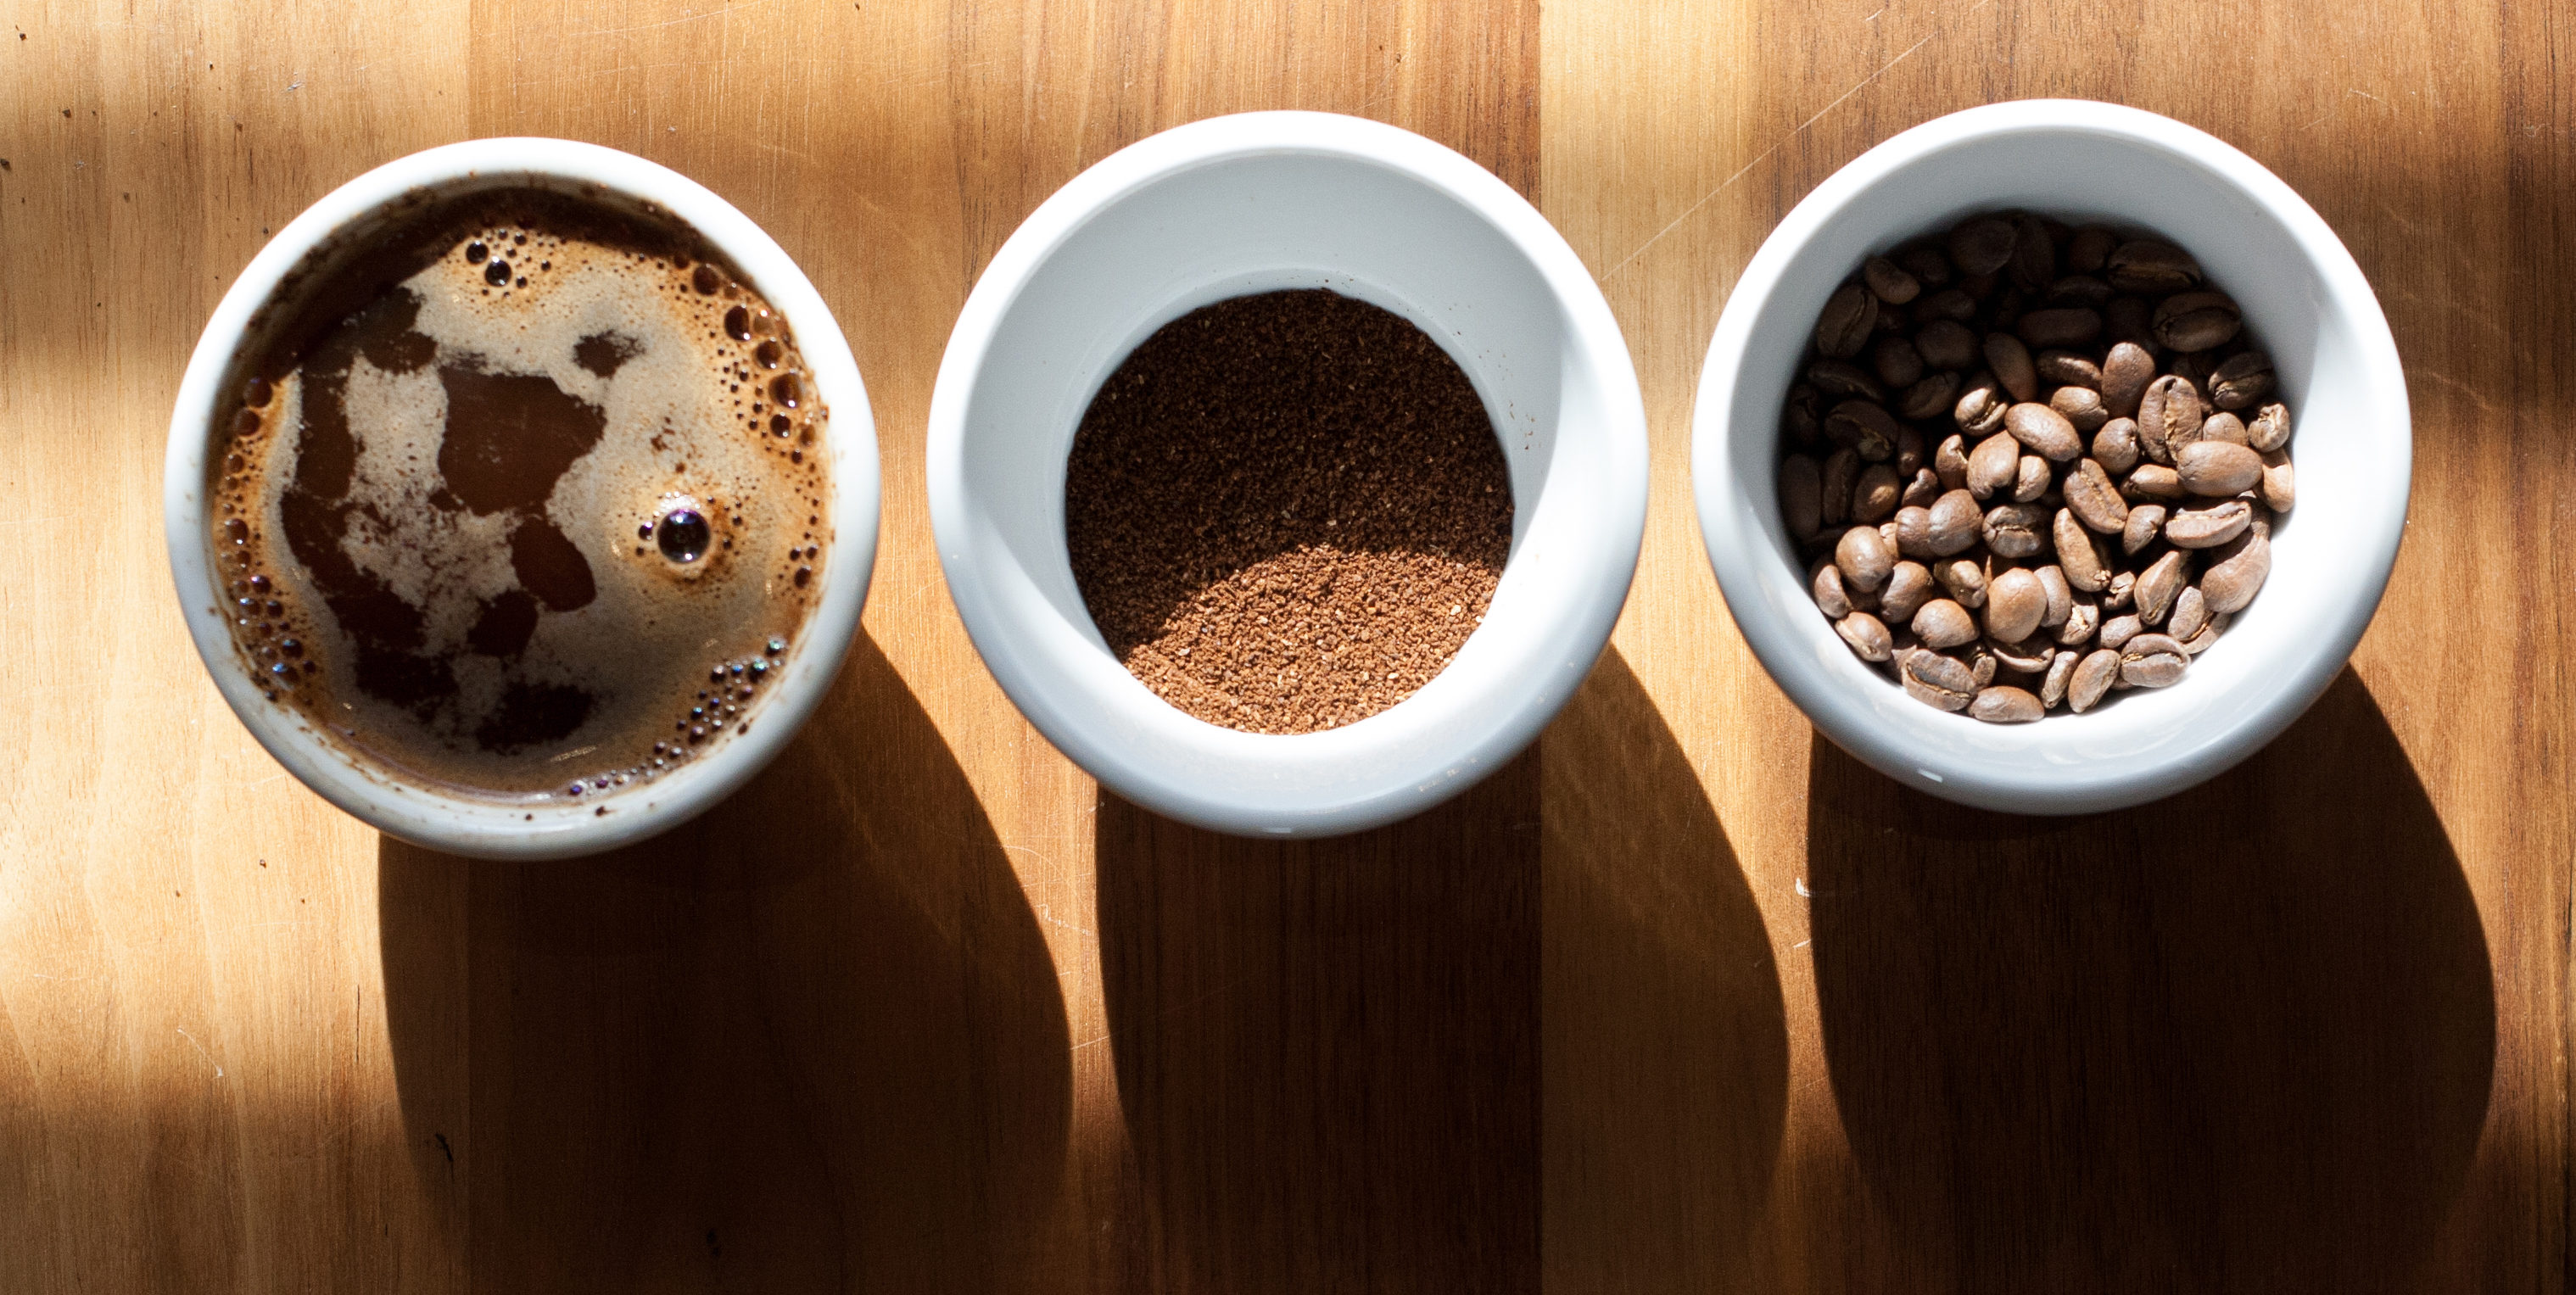
Coffee beans are graded once they are roasted and before they are sold to ensure their quality and flavour. The process is called ‘cupping’ and it’s a serious task. Toby’s Estate’s green bean buyer, international barista champion and professional coffee Q grader, Charlotte Malaval sips and slurps her way through more than 1.5 litres of coffee a day to ensure only the best are sold by the coffee roaster.
The qualification to become a Q Grader is intensive and not for the faint hearted, but we’ve created a little cheat sheet for coffee lovers to have a crack at cupping at home.
What is coffee cupping?
Cupping is a coffee tasting technique used to evaluate the aroma and flavour profile of a coffee. It’s a blind taste of numerous coffees from around the world side-by-side to understand the differences. It also helps to evaluate if there is a defective coffee or bad batch of beans.
Coffee tasting is much like wine tasting, it’s an art. You evaluate the colour, sip, slurp and spit to decipher taste notes and recognise different flavours of the coffee.
How to do a mini cupping session at home
What you’ll need:
- 20g each of 6 different coffees
- 12 identical glass or ceramic cups, holding 160-200ml of water
- a soup spoon
- coffee grinder
- scales
- bowl to collect wet grounds
- tall glass to hold spoons
Method:
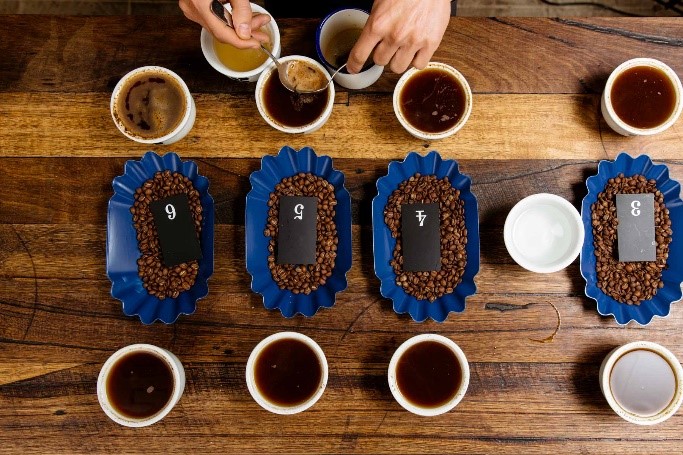
1. Line up six different bowls of coffee beans on a long wooden table.
2. Fill 12 cups with enough coffee beans to grind 9g. There’s two cups for each type of coffee to help ensure consistency.
3. Group the cups into pairs of the same type of coffee. Label the cups or hide the label under the cups or face-down for a blind cupping. You should have 6 ‘stations’ each with two cups of beans.
4. Next, freshly grind 9g of the beans in each cup. Immediately smell the ground beans. Sniff each variety carefully, really getting the nose into the cup. If you have a copy of the coffee taster’s flavour wheel you can use this to start to pick out the different aromas in the brew. You can see what this looks like here.
5. Fill each cup with 150ml of boiled water, have a quick sniff but then leave to rest for a minute.
6. Allow a layer of grounds to form on the top of the cups. Once this has formed, take a spoon and break the layer using the back of the spoon. Keep your nose close to the cup as you do this so that the aromas waft straight to your nose as the barrier breaks. You’ll notice the aroma has changed since adding water and you might smell new flavours. Rinse the spoon in hot water and keep working along the line of cups.
7. Using one or two spoons in a circular motion, remove any remaining grounds floating on the surface of the cup so you don’t end up drinking them. If there’s not many, you can run the back of the spoon over the surface gently and it’ll collect most of them.
8. Leave the coffee to cool a little then work along the line up again, slurping the coffees while they’re warm. Rinse your spoon after each.
9. Get loud! A loud slurp means you are sucking the coffee in with such velocity that it is aerated and sprayed across your entire palate to interact with each taste bud – so don’t be afraid to be too loud!
10. Once the cups have cooled completely you’ll be able to taste more flavours. So, slurp again. The best coffees will have positive characteristics at all ranges of temperature. Make notes of flavour for each pair of cups, or for an individual cup if you notice a difference between a pair.
Enjoy!